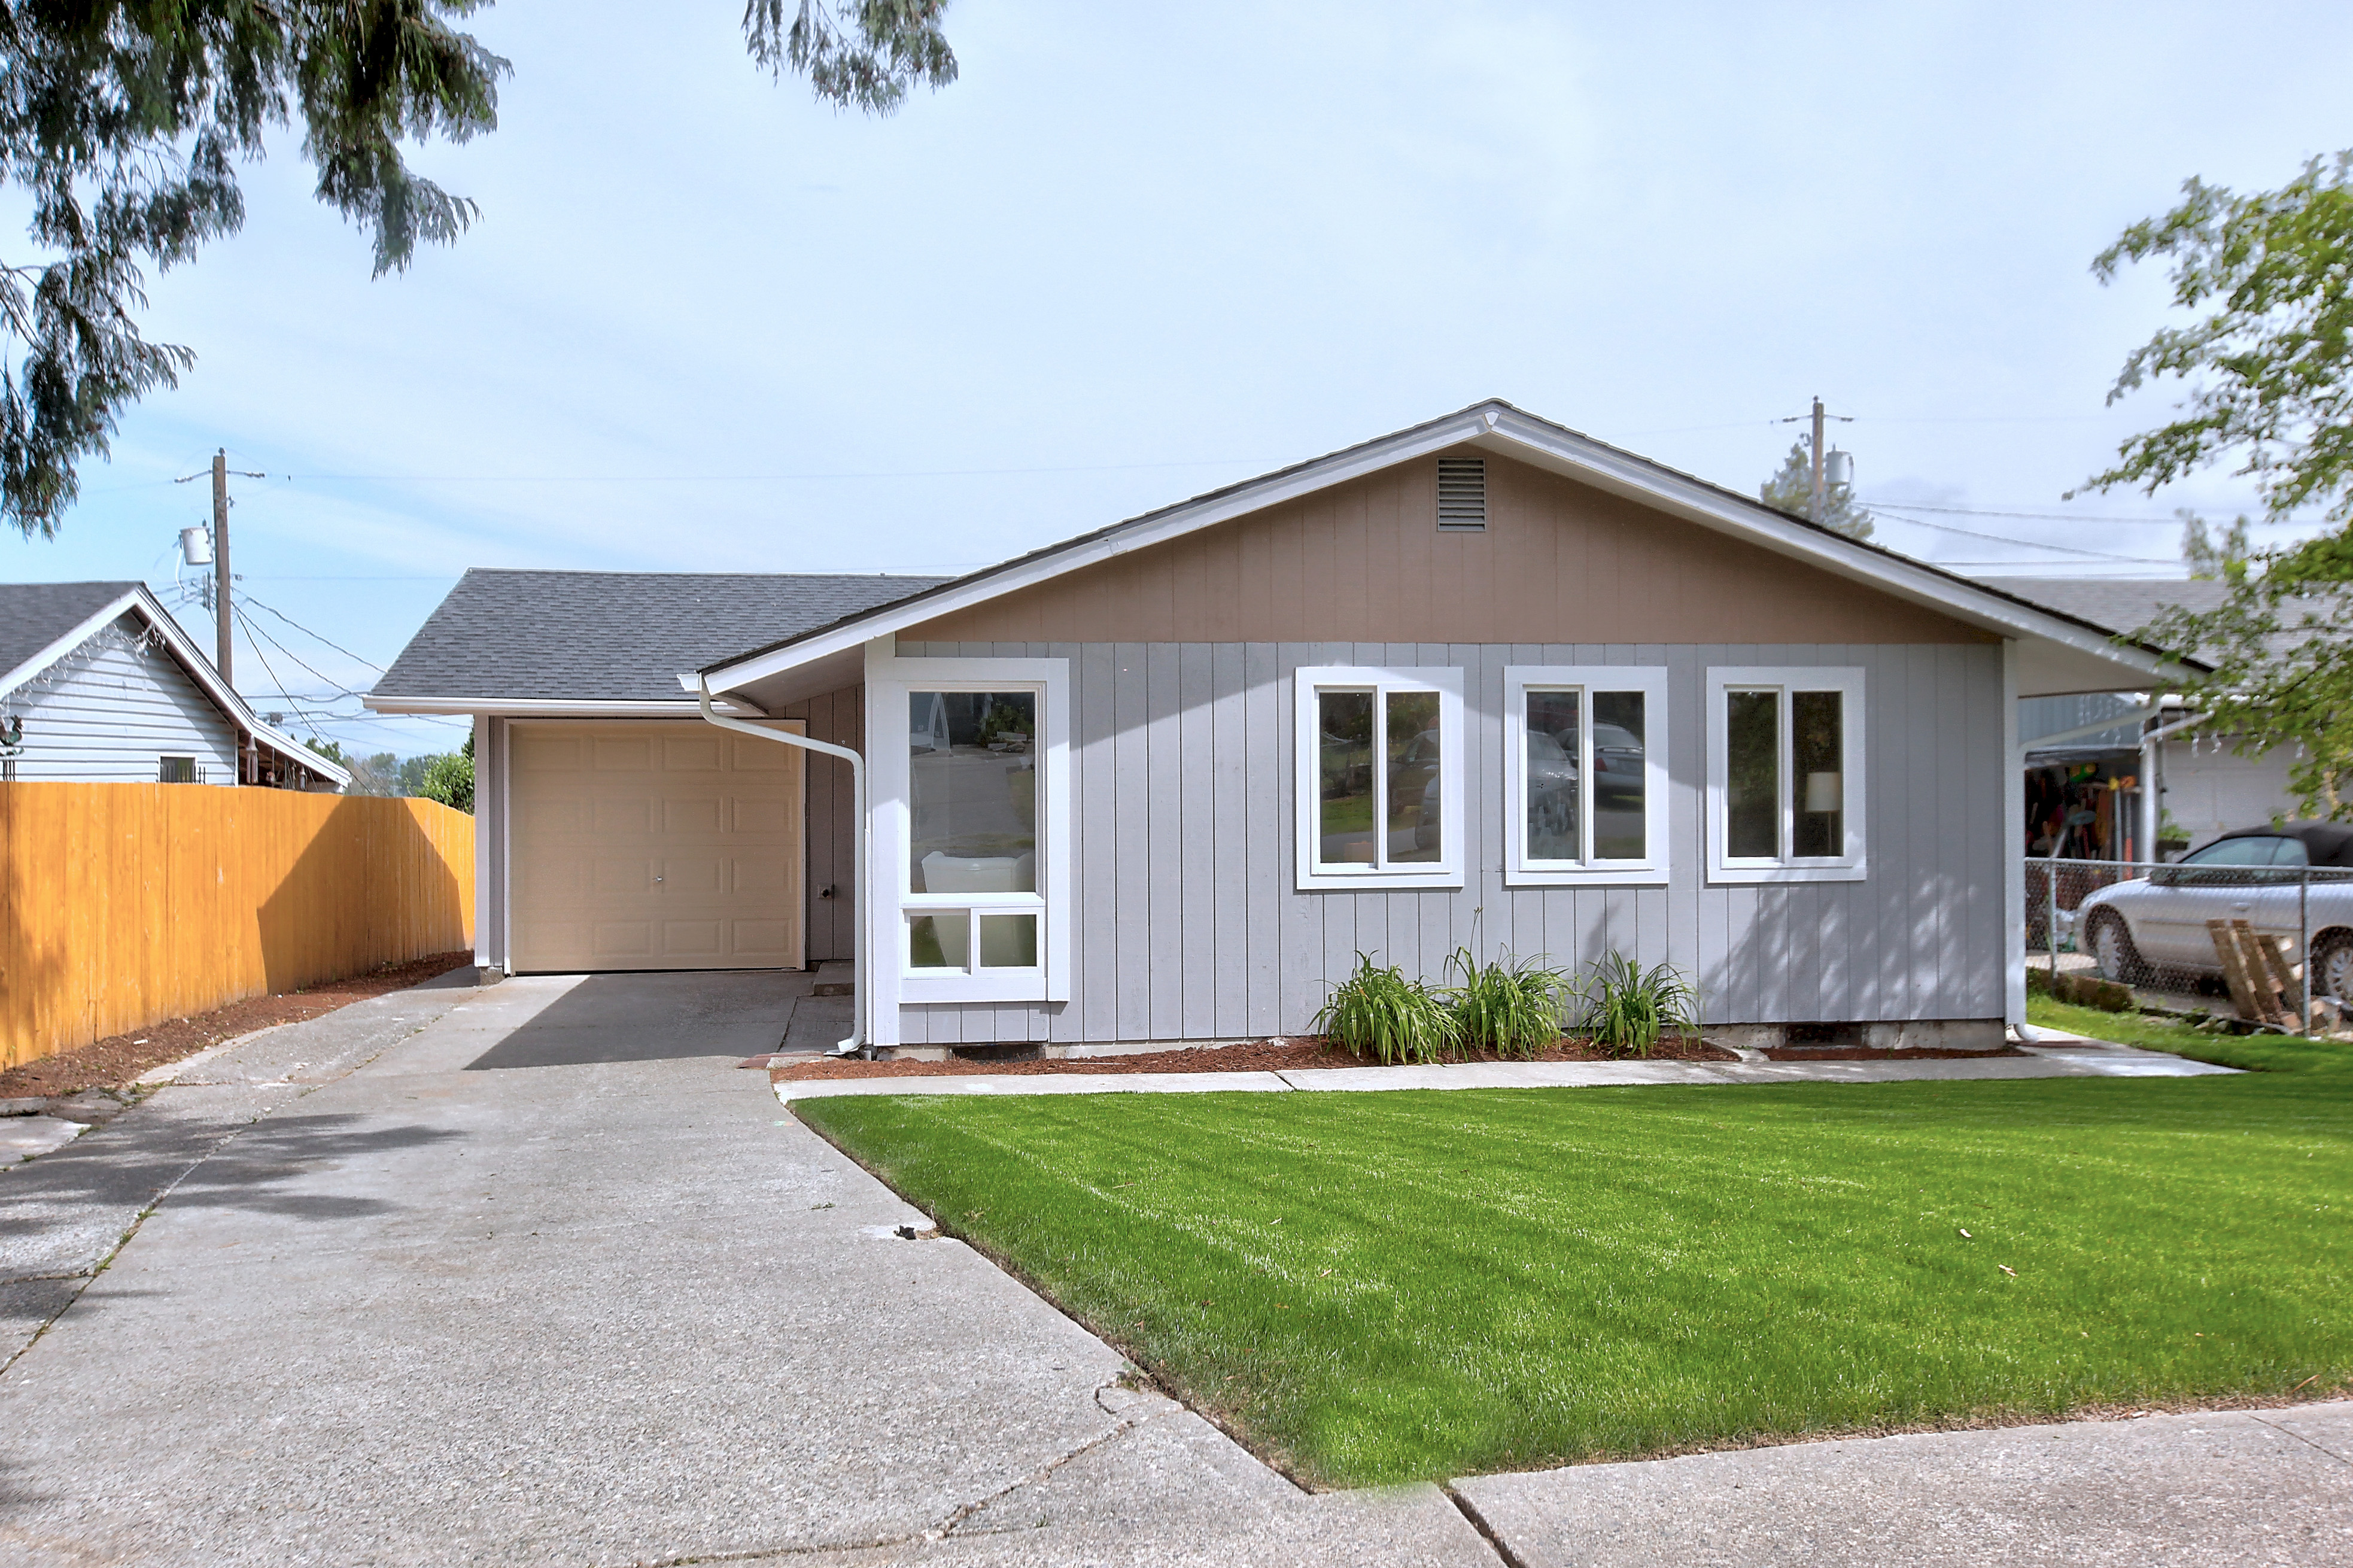
A few clear photos can make the first repair conversation more useful. They can show where a concern appears, what surrounds it and how easy the area may be to access. They cannot diagnose hidden damage or replace an on-site assessment, but they can help a homeowner, agent and contractor begin with the same facts.
Start with a short written description
Before taking photos, write down:
the room, side of the house or exterior area involved;
what you can actually see, hear or smell;
when you first noticed it;
whether it appears constant, intermittent or tied to weather or use; and
whether the area has been repaired before.
Describe observations without deciding the cause. “Staining below the window after heavy rain” is more useful than “the window is leaking” when the source has not been confirmed.
Use a five-photo sequence
1. Show the approach
Take one photo that helps someone understand where the area is in relation to the home. For an exterior concern, that might include the side of the house, roofline or entry path. For an interior concern, begin at the room entrance.
2. Take a wide context photo
Include the surrounding wall, floor, ceiling, doors, windows, trim, cabinets or fixtures. The goal is to show how the affected area connects to nearby materials and building features.
3. Move to a medium view
Frame the concern and the materials immediately around it. This view often helps clarify whether several trades or finish materials may be involved.
4. Capture the detail
Take a close photo of the visible crack, stain, gap, damaged finish or other concern. Keep the image sharp and well lit. If you need a size reference, place a ruler or other familiar object nearby only when it is safe to do so.
5. Photograph the adjacent area
When practical, show what is above, below, behind or on the opposite side of the concern. A ceiling mark may relate to the room above. Exterior deterioration may need context from a window, deck, roof edge, gutter or grade nearby.
Include records that may change the scope
If they are available, gather the relevant inspection report pages, past repair invoices, product labels, model numbers, warranty information and any photos showing how the condition changed over time. Share only what is relevant. Remove client names, signatures, access codes, account numbers and other private details before forwarding records.
For a property inspection item, identify the exact report section and page. An inspection observation is a starting point; the repair scope still needs to match the actual condition found at the property.
Do not create a new hazard for a better photo
Stay on a stable surface. Do not climb onto a roof, open an electrical panel, move damaged materials, enter a wet or unstable area or disturb suspected hazardous material for documentation. If the condition involves active water, electrical danger, gas odor, structural movement or another immediate safety concern, contact the appropriate emergency or qualified service provider first.
Know what photos cannot confirm
Photos may help with triage and preparation, but they usually cannot confirm:
the source or full extent of concealed damage;
what is inside a wall, ceiling, roof or floor assembly;
whether a system complies with current requirements;
the condition of inaccessible framing, wiring, plumbing or waterproofing; or
the exact repair method, materials or sequence.
A responsible next step may be an on-site review, a specialist assessment or limited investigation before a firm repair scope is written.
Make the first conversation easier
Send the photo sequence with a concise note about the property area, the observed condition, your goal and any deadline that is tied to a real event such as an inspection response or planned move. If you are working with an agent, decide who will gather missing facts and who will communicate with the homeowner.
MyGCNow Construction serves homeowners and agents in Pierce County and South King County. To discuss a repair or remodeling question, book a free preliminary consultation.